
Composting at Home: Turning Kitchen and Garden Waste into Rich Soil

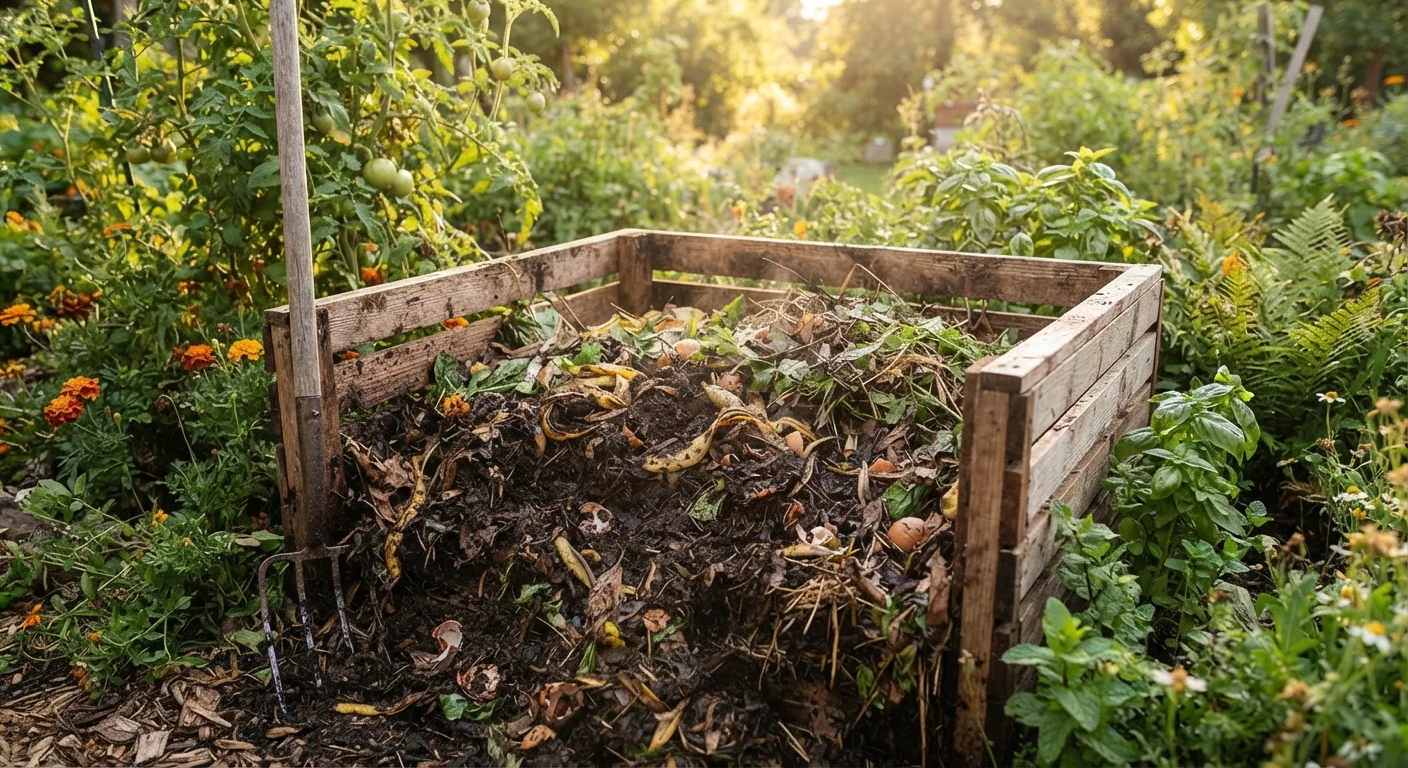
Photo: DockedReads.com | Information Made Easy editorial
Key Takeaways
- Composting requires a balanced mix of carbon-rich 'browns' and nitrogen-rich 'greens' to work effectively.
- Most kitchen and garden scraps can be composted — but meat, dairy, and diseased plants should stay out.
- A properly managed pile can yield finished compost in as little as two to three months.
- Moisture, aeration, and particle size are the three main factors that control decomposition speed.
- Finished compost improves soil structure, feeds beneficial organisms, and reduces the need for added fertilizers.
Why Compost? Understanding the Basics
Composting is the controlled decomposition of organic matter into a stable, humus-rich material that improves soil health and reduces household waste. When microorganisms — bacteria, fungi, and other organisms — break down kitchen and garden scraps, the result is a free soil amendment that enhances drainage, feeds soil biology, and provides a slow release of nutrients plants need.
Unlike synthetic inputs, compost builds the long-term structure and biology of your soil rather than simply delivering a short-term nutrient boost. If you're weighing your options, our comparison of organic and synthetic fertilisers explains the trade-offs in more depth. Compost also pairs naturally with other soil-building habits — including mulching, which helps retain the moisture and structure compost creates.
The process requires no special expertise — just a consistent supply of materials, a suitable space, and a basic understanding of what makes decomposition happen faster or slower.
What you will need
What You'll Need Before You Start
Setting up a composting system requires minimal investment. Most of the tools you need are already on hand or inexpensive to acquire. The most important factor is having reliable access to both green and brown materials on an ongoing basis.
Compost bin or open pile structure
Contains the composting materials and retains heat to accelerate decomposition.
Garden fork or compost aerator
Used to turn and mix the pile, introducing oxygen to feed decomposing microbes.
Kitchen compost collection container
Collects food scraps on the counter or under the sink before transferring to the outdoor pile.
Garden hose or watering can
Adds moisture to a dry pile to maintain ideal decomposition conditions.
Thermometer (compost or soil probe type)
Monitors internal pile temperature to confirm active decomposition is occurring.
Step-by-Step: Building and Managing Your Compost Pile
Follow these steps to get your composting system producing rich, usable compost. Whether you're setting up a dedicated bin or managing an open pile, the principles are the same.
Never Compost These Materials
Choose and set up your composting system
Select a spot that gets partial sun and is convenient to both your kitchen and garden beds. A contained bin — plastic, wooden, or wire mesh — helps retain heat and moisture more efficiently than a loose open pile, though both work. Aim for a minimum volume of about 3 cubic feet (roughly 3 ft × 3 ft × 3 ft), which is the threshold needed to generate enough internal heat for active decomposition.
Position your bin directly on bare soil so beneficial organisms like earthworms can migrate in from below. Avoid placing it directly against a fence or wall where airflow is restricted.
Understand the greens-to-browns ratio
Successful composting depends on balancing two categories of material. Greens (nitrogen-rich): vegetable peelings, fruit scraps, coffee grounds, fresh grass clippings, and plant trimmings. Browns (carbon-rich): dry leaves, cardboard, paper egg cartons, straw, and wood chips.
A general guideline is roughly 3 parts browns to 1 part greens by volume. Too many greens makes the pile slimy and smelly; too many browns slows decomposition to a crawl. Think of the ratio as a dial — you can adjust it based on what your pile looks and smells like.
Build your initial pile in layers
Start with a 3–4 inch layer of coarse browns (wood chips, straw, or shredded cardboard) at the base to allow drainage and airflow. Add a 2–3 inch layer of greens on top, then cover with another layer of browns. Continue alternating layers, finishing with browns on top to reduce odors and deter pests.
Water each layer lightly as you build so the pile reaches the consistency of a wrung-out sponge — moist throughout but not dripping. If you're adding materials gradually over time rather than building all at once, simply bury fresh greens into the center of the existing pile.
Turn and maintain the pile regularly
Turning the pile introduces oxygen, which feeds the aerobic bacteria responsible for rapid decomposition. For a fast, hot pile, turn it every 3–7 days. For a more hands-off approach, turning once every 2–4 weeks still produces usable compost — it just takes longer (typically 6–12 months rather than 2–3 months).
Each time you turn, check moisture levels. The pile should feel damp but not waterlogged. If it's dry, add water. If it's soggy, mix in more dry browns and turn more frequently to encourage evaporation.
Recognize and use finished compost
Finished compost is dark brown, crumbly, earthy-smelling, and no longer recognizable as its original materials. It should look and smell like rich forest soil. If you can still identify large pieces, let the pile rest longer or sift the finished portion away and return unfinished material to the bin.
Apply finished compost by working 1–2 inches into garden beds before planting, using it as a top-dressing around established plants, or blending it into potting mixes. It makes an excellent soil amendment for container gardens where soil health is critical in a limited growing environment.
Chop Materials for Faster Results
Troubleshooting Common Composting Problems
Even well-managed piles run into issues. Here are the most common problems and how to address them:
- Pile isn't heating up: Usually a sign of too many browns, not enough moisture, or insufficient volume. Add greens, water lightly, and consolidate material into a larger mass.
- Unpleasant odor: Likely too many greens or too much moisture. Turn the pile, add dry browns, and improve airflow.
- Pests or animals: Avoid adding cooked food or meat. Use a bin with a secure lid or bury fresh scraps in the center of the pile rather than placing them on top.
- Slow decomposition in winter: Cold temperatures slow microbial activity significantly. Insulate with an extra layer of straw or burlap, or simply let the pile rest and resume active management in spring.
Keep Your Pile from Going Anaerobic
Composting works well alongside a broader seasonal garden routine. Our end-of-season garden checklist includes composting tasks as part of closing out the growing year properly. And if you're planning to use your finished compost to start a new growing project, see our guide to starting a vegetable garden from scratch.
The content on this site is for informational purposes only and is not a substitute for professional advice. Always consult a qualified professional for guidance specific to your situation.