
Setting Up a New Router Without Calling Tech Support

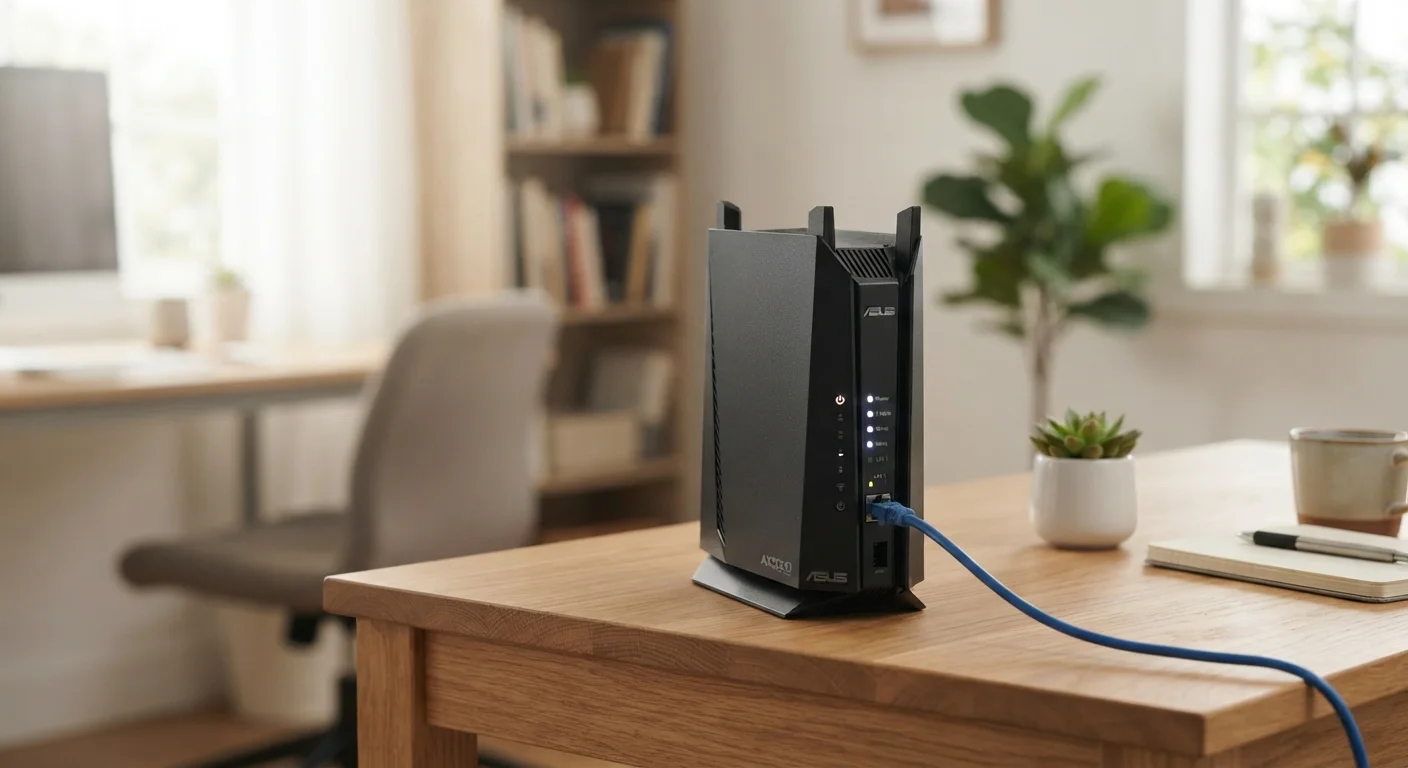
Photo: DockedReads.com | Information Made Easy editorial
Key Takeaways
- You don't need a technician — most routers can be set up in under 45 minutes using the steps in this guide.
- Changing the default network name and password is one of the most important security steps you can take.
- Updating router firmware right after setup closes known security vulnerabilities before they can be exploited.
- Placing your router centrally and away from obstructions significantly improves signal quality throughout your home.
- A strong home network is the foundation for safely adding smart home devices later.
What You'll Need Before You Start
Setting up a router is more straightforward than many people expect — the process is largely the same regardless of which router you own. Before diving in, gather everything listed below so you won't need to pause mid-setup.
What you will need
Ethernet Cable
Connects the router to your modem or ISP gateway for a stable wired link during setup.
Smartphone or Computer
Used to access the router's admin interface and configure network settings.
Router's Quick-Start Guide
Contains device-specific default IP addresses, login credentials, and indicator light meanings.
Manufacturer's Mobile App
Many routers offer a companion app that simplifies setup compared to the browser-based admin panel.
If you're unsure whether your ISP uses PPPoE (a login-based connection type common with DSL internet), check the welcome letter or account documentation your ISP mailed when you signed up. You can also find this information in your online ISP account portal.
Step-by-Step Setup Instructions
Follow these steps in order. Each one builds on the previous, so skipping ahead can create connection problems that are harder to diagnose later.
Unbox and inspect everything
Remove the router, power adapter, and any included ethernet cables. Check the bottom or back of the router for a label — this label typically shows the default Wi-Fi network name (SSID), default Wi-Fi password, and the admin panel address (commonly 192.168.1.1 or 192.168.0.1). Take a photo of this label before setting the device up; you may need it later.
Power off your modem
Before making any connections, unplug your existing modem or ISP-supplied gateway from its power source. Wait at least 30 seconds. This resets the modem's memory so it will recognise the new router when it boots up. Skipping this step is one of the most common reasons a new router appears to connect but has no internet access.
Connect the router to your modem
Using an ethernet cable, connect your modem's output port to the router's WAN port (sometimes labelled "Internet"). This port is usually a different colour from the other ports — often yellow or blue. Then plug the router's power adapter in and wait for the indicator lights to stabilise, which typically takes 60–90 seconds.
Power the modem back on
Plug your modem back in and give it 60 seconds to fully restart and establish a connection with your ISP. Once its status lights indicate a live connection (consult the modem's manual for what those lights mean), the router should begin receiving an internet signal.
Access the router's admin panel
On your smartphone or computer, connect to the router's default Wi-Fi network using the credentials from the label you photographed in Step 1. Then open a web browser and type the router's admin address (e.g., 192.168.1.1) into the address bar — not the search bar. You'll be prompted for the default admin username and password, also found on the label. Alternatively, if your router has a companion app, you can use that instead for a more guided experience.
Run the setup wizard
Most modern routers launch a setup wizard automatically after you first log in. The wizard will walk you through selecting your connection type (most US home users select DHCP, which is automatic; PPPoE users will need their ISP login credentials), setting a new Wi-Fi network name (SSID), and creating a new Wi-Fi password. Follow the on-screen prompts.
Change the admin password
After completing the wizard, navigate to the admin account settings (look for "Administration," "System," or "Advanced" in the menu) and change the router's admin login password to something unique — not the same as your Wi-Fi password. This prevents anyone who connects to your network from being able to alter your router settings.
Check for and install firmware updates
Inside the admin panel, look for a section labelled "Firmware Update," "Software Update," or similar under "Administration" or "Advanced" settings. Check for available updates and install any that appear. The router will restart after updating — this is normal. Firmware updates patch security vulnerabilities and can improve performance and stability.
Connect your devices and test
Search for your new Wi-Fi network name on each device in your home and connect using your new password. Open a browser or app to confirm internet access is working. If a device can't connect, double-check that you're entering the new password correctly — it's case-sensitive. For wired devices like desktop computers or gaming consoles, plug an ethernet cable from the device into one of the router's LAN ports.
Change Default Login Credentials Immediately
Don't Skip the Firmware Update Step
Once your network is live, it's worth spending a few minutes understanding basic security hygiene. Our home Wi-Fi security audit covers additional settings — like disabling WPS and enabling a guest network — that further harden your setup.
Getting the Best Signal and What to Do Next
Router Placement Makes a Real Difference
After your router is up and running, consider where you place it. If certain rooms have weak signal, the simplest solution is repositioning the router. If your home is large or has thick walls, a Wi-Fi extender or a mesh network system can fill in the gaps without replacing your existing router entirely.
A secure home network is also the foundation for adding smart home gadgets — devices like smart speakers, thermostats, and video doorbells all rely on it. Our guide to getting started with smart home devices explains how to expand your setup safely and simply once your network is stable.
Finally, remember that the security habits you apply at home — strong passwords, updated firmware, a private network — are just as important whenever you connect away from home. Our article on public Wi-Fi network risks explains what changes when you leave your protected home connection behind.
The content on this site is for informational purposes only and is not a substitute for professional advice. Always consult a qualified professional for guidance specific to your situation.