
Why Your Caulk Keeps Cracking — and What to Do About It

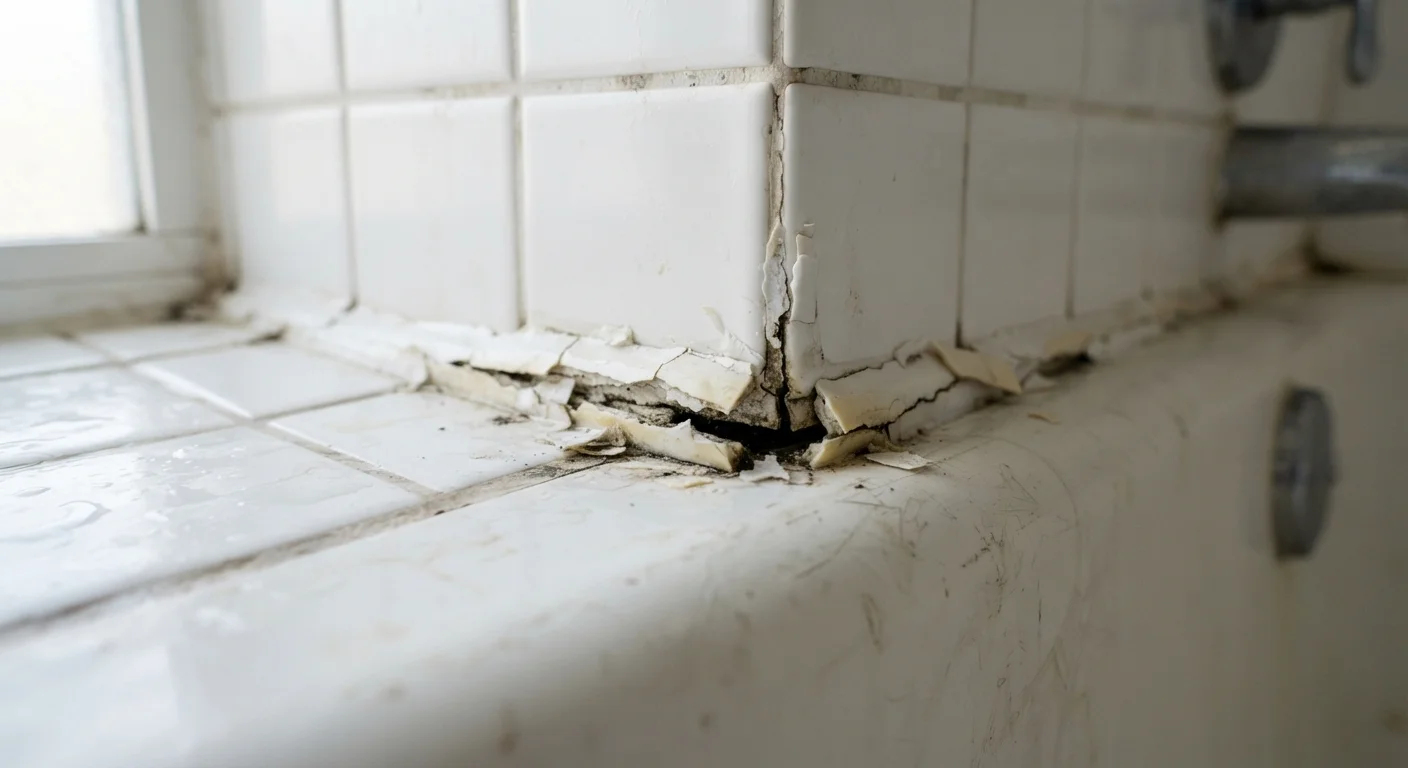
Photo: DockedReads.com | Information Made Easy editorial
Key Takeaways
- Caulk applied over dirty, wet, or old surfaces almost always fails prematurely.
- Using the wrong caulk type for the location is one of the most common — and fixable — mistakes.
- Proper surface prep and letting caulk cure fully before exposure to water are essential for a lasting seal.
- Most cracking caulk jobs can be fixed by removing the old material completely and starting fresh.
Why Caulk Fails in the First Place
Caulk is one of the most underestimated materials in home maintenance. A thin bead along a tub, window frame, or countertop edge is doing real structural work — keeping moisture out, blocking drafts, and bridging the natural movement between two different surfaces. When it cracks, shrinks, or peels away, it's rarely a fluke. In almost every case, there's a specific, correctable reason behind it.
The good news: most caulk failures trace back to a handful of repeatable mistakes. Once you recognize them, you can avoid them — and get a seal that actually holds for years instead of months. See our guide to grout vs. caulk if you're also sorting out which material belongs in a particular spot before you begin.
Applying caulk over an unclean or contaminated surface.
Caulking over old, cracked caulk instead of removing it first.
Using the wrong type of caulk for the location.
Applying caulk to a wet or recently used surface.
Applying too thick a bead in a single pass.
How to Prep and Apply Caulk So It Actually Lasts
Good caulk application is mostly about patience and surface prep. The application itself takes minutes; the prep work is where most of the time — and most of the outcome — lives.
Never Caulk Over Mold Without Treating It First
Remove All Old Caulk First
Don't caulk over existing caulk. Use a plastic caulk removal tool or a utility knife to cut out the old bead entirely. Leaving even a thin layer underneath gives the new caulk nothing solid to bond to. For stubborn silicone residue, a silicone remover solvent (available at most hardware stores) can help clean the surface down to the substrate.
Clean and Dry the Surface Thoroughly
Once the old material is out, clean the joint with rubbing alcohol or a diluted bleach solution if there's any mold present. Let the area dry completely — in a bathroom, this may mean waiting 24 hours with a fan running. Moisture trapped under fresh caulk is the single fastest way to cause it to fail.
Apply in Controlled Conditions
Most caulks have an ideal application temperature range (typically 40–90°F). Applying in a very cold garage or a damp basement in winter can prevent proper curing. Check the product label for the manufacturer's guidance and follow it.
Give It Time to Cure
Latex caulk may feel dry to the touch within an hour, but full cure — especially in damp areas — can take 24 to 48 hours. Running water or steam too soon can disrupt the bond before it sets. Resist the urge to test it immediately.
20–30%
Heat loss attributable to gaps and cracks in building envelopes
The U.S. Department of Energy notes that sealing air leaks — including failed caulk joints — can meaningfully reduce heating and cooling costs in typical homes.
1–5 years
Typical lifespan of improperly applied caulk
Industry guidance suggests correctly applied silicone caulk in low-movement areas can last 10–20 years, while poor prep and application can reduce that to just one to five years.
If you're dealing with peeling paint near caulked areas, our article on why freshly painted walls look patchy covers related prep mistakes worth knowing about.
The content on this site is for informational purposes only and is not a substitute for professional advice. Always consult a qualified professional for guidance specific to your situation.