
Why Your Freshly Painted Walls Look Patchy After Drying

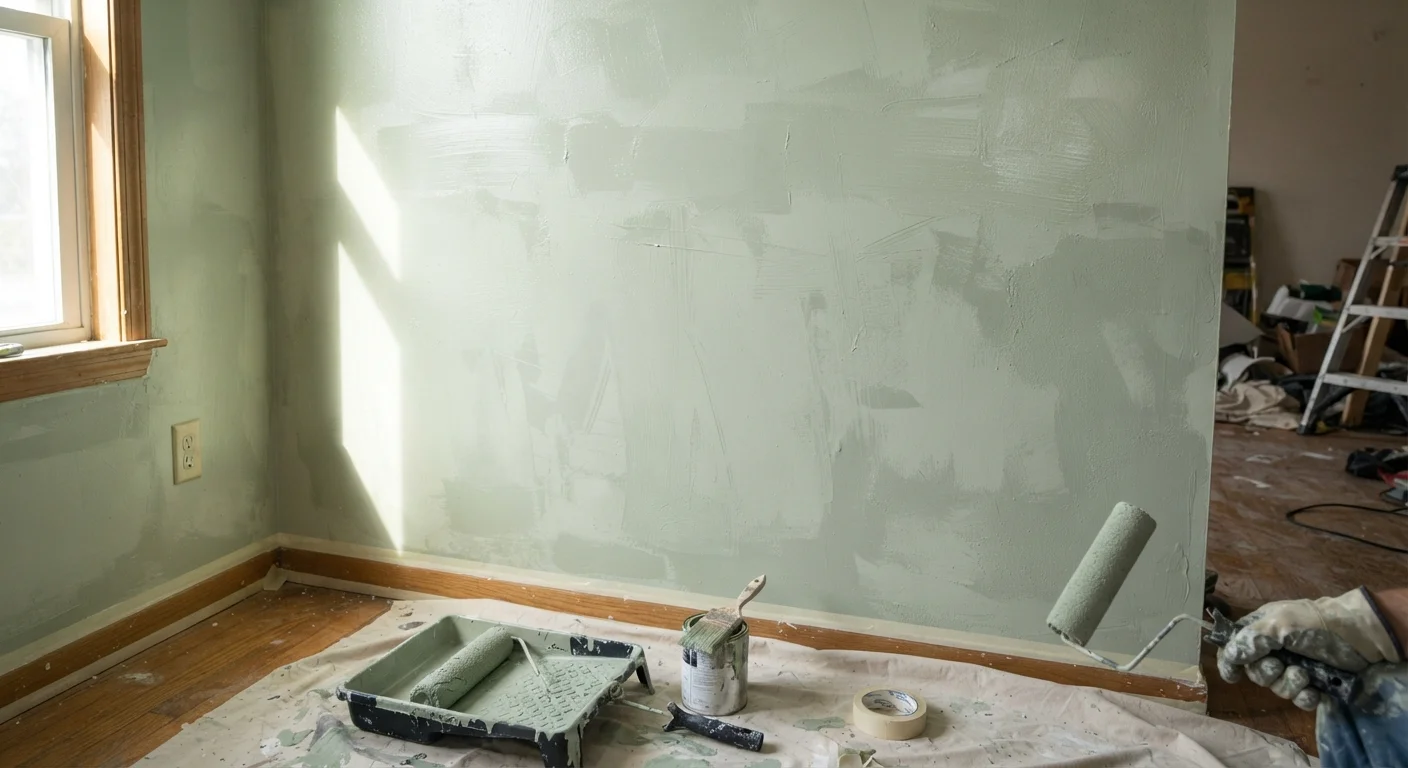
Photo: DockedReads.com | Information Made Easy editorial
Key Takeaways
- Skipping primer is the single most common cause of patchy paint on new or repaired surfaces.
- Applying paint too thinly or in too few coats leads to uneven sheen and coverage.
- Surface moisture, temperature extremes, and uneven porosity all affect how paint dries.
- Most patchy results can be corrected with proper prep and an additional coat of paint.
Why Patchiness Happens — The Short Answer
You've rolled on the final coat, cleaned your brushes, and stepped back — only to find your walls look blotchy, streaky, or oddly shiny in spots. This is one of the most common frustrations in DIY painting, and the good news is that it's almost never random. Patchy results have identifiable causes, and understanding them is the first step toward a smooth, even finish.
Patchiness typically comes down to one of a few culprits: inconsistent surface absorption, inadequate priming, insufficient coats, or application technique issues. Each leaves a distinct visual signature. Achieving a smooth, professional finish starts well before you open a paint can — it starts with understanding your wall's condition and how paint behaves on it.
Skipping primer before applying topcoat paint.
Applying paint in too-thin or too-few coats.
Painting over a surface with uneven or excess moisture.
Losing the wet edge by painting too slowly or in sections that are too large.
Using the wrong roller nap for the surface texture.
The Role of Surface Prep in Even Coverage
Walls that look smooth to the eye aren't always uniformly prepared for paint. Patches of joint compound, sanded spots, and original drywall face all absorb paint at different rates — a phenomenon called differential porosity. Where the surface is more absorbent, paint soaks in faster and appears flatter or duller after drying. Where the surface is less porous, paint sits on top and can appear shinier or darker.
This is especially pronounced after drywall repairs, where fresh compound creates noticeably thirstier spots in an otherwise sealed wall. Spot-priming those areas — or applying a full coat of primer across the entire surface — equalizes absorption before the topcoat goes on.
Fresh Repairs Need Extra Attention
Temperature and humidity also play a role. Paint applied in very cold rooms or in high humidity dries unevenly and may not bond consistently, leaving a mottled appearance. Aim for room temperatures between 50°F and 85°F with moderate humidity whenever possible.
Getting the Fix Right
Most patchiness is correctable without stripping the wall. Start by lightly sanding any raised roller edges or drips with fine-grit sandpaper, then wipe the wall clean of dust. If differential porosity is the issue, apply a coat of drywall primer or a PVA-based primer to the entire wall — not just the problem spots — before repainting.
When you repaint, use consistent technique: maintain a wet edge by working in sections and overlapping strokes before the previous area dries. Avoid the temptation to over-work areas that look thin while still wet — paint often appears uneven when wet but levels out as it cures. A second coat applied after the first is fully dry (check the manufacturer's guidance) resolves most remaining inconsistencies.
Understanding how finish type affects the final appearance is also worth your time. Matte finishes hide surface imperfections better than sheens like satin or semi-gloss, which reflect light and amplify any unevenness. See our guide to interior paint finishes for a fuller breakdown of when each finish makes sense.
2–3
Coats typically needed for full, even coverage
Most paint manufacturers specify at least two finish coats over a primed surface for consistent opacity and sheen.
50°F–85°F
Recommended temperature range for interior painting
Painting outside this range — especially in cold or very humid conditions — is a leading contributor to uneven drying and poor adhesion.
This article is for informational purposes only. Always follow paint manufacturer instructions and consult a professional for large-scale or complex projects.
The content on this site is for informational purposes only and is not a substitute for professional advice. Always consult a qualified professional for guidance specific to your situation.