
Home Maintenance

What Homeowners Often Get Wrong About Weatherstripping

What Homeowners Often Get Wrong About Weatherstripping

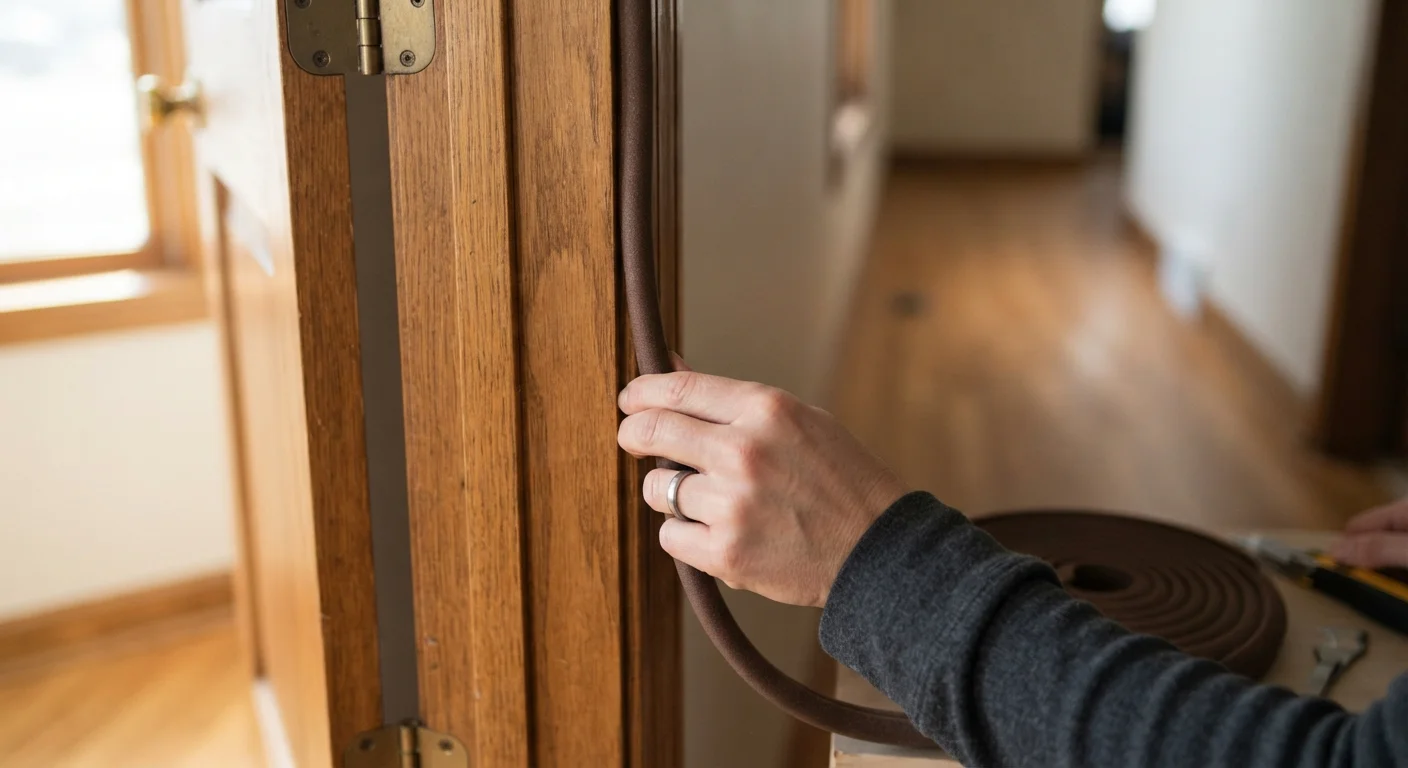
Photo: DockedReads.com | Information Made Easy editorial

Weatherstripping is one of the easiest upgrades a homeowner can make — but several common errors undermine its effectiveness. Here's what to watch for.

Key Takeaways

  • Skipping surface prep is the leading reason new weatherstripping fails within weeks.
  • Choosing the wrong material type for a specific door or window is a widespread and avoidable error.
  • Old weatherstripping must be fully removed before new material is applied.
  • Testing the seal after installation confirms whether gaps remain before temperatures drop.

Why Weatherstripping Fails More Often Than It Should

Weatherstripping is one of the most cost-effective ways to reduce drafts, lower energy use, and improve comfort at home. The materials are widely available, the process looks straightforward, and most installations don't require special tools. Yet weatherstripping fails prematurely in a surprising number of homes — not because the products are poor, but because a few recurring mistakes undermine the job from the start.

Understanding what typically goes wrong helps you avoid the same traps. The mistakes below cover the full arc of a weatherstripping project, from choosing material to checking your finished work. For a broader look at where weatherstripping fits into annual upkeep, see our seasonal home maintenance guide.

1

Skipping surface cleaning before applying adhesive-backed weatherstripping.

Why it happens: The strip looks like it's sticking at first, so homeowners assume the surface is clean enough. Dust, grease, and old adhesive residue aren't always visible.
How to avoid: Wipe down the entire contact surface with rubbing alcohol or a degreasing cleaner and let it dry completely before applying new material. Even a thin film of grime will cause the adhesive to release within weeks, especially in temperature extremes.
2

Layering new weatherstripping directly over old, worn material.

Why it happens: Removing old weatherstripping takes effort and can feel unnecessary when the new strip seems to cover it adequately.
How to avoid: Always strip out the old material fully and scrape away any remaining adhesive before starting fresh. Layering creates an uneven surface that prevents the new seal from sitting flush, leaving gaps along the frame.
3

Choosing a weatherstripping material based on price or convenience rather than the specific application.

Why it happens: Many homeowners treat all weatherstripping as interchangeable, grabbing whatever is available without considering the friction, compression, and exposure conditions of each location.
How to avoid: Match material to the job: foam tape works for low-friction areas like window sashes, while door bottoms and thresholds need more durable options like door sweeps or rubber bulb seals. High-traffic doors wear through foam quickly.
4

Measuring once and cutting without accounting for corners and joints.

Why it happens: Door and window frames look simple, but corners and the meeting points of separate strips are easy spots to leave small but significant gaps.
How to avoid: Measure each side of the frame individually rather than calculating from overall dimensions. Cut strips slightly long and trim to fit precisely. At corners, cut at a 45-degree angle so the pieces meet tightly rather than butting up bluntly.
5

Neglecting the door bottom, focusing only on the sides and top.

Why it happens: Side and top gaps are more visible and easier to address, so the threshold gap gets overlooked even though it is often the largest source of air infiltration.
How to avoid: Inspect the gap under the door with a flashlight — daylight or air movement visible beneath the door confirms a problem. A properly fitted door sweep or automatic door bottom seal addresses this gap and is installed separately from the frame weatherstripping.
6

Not testing the completed seal before considering the job done.

Why it happens: Once the strip is on and the door or window closes smoothly, it's easy to assume the seal is effective without verifying it.
How to avoid: Use the paper-slip test: close the door on a strip of paper and try to pull it out. If it slides freely, compression is insufficient and the strip needs adjustment or a thicker profile. Recheck all sides, not just one.

Getting It Right the First Time

Most weatherstripping failures trace back to decisions made before a single strip is applied — surface condition, material choice, and whether old seals were properly removed. Addressing these factors upfront saves you from redoing the work a season later.

Up to 30%

Of home heating and cooling lost through air leaks

The U.S. Department of Energy estimates that drafts and air infiltration through gaps around doors and windows can account for up to 30% of home heating and cooling energy loss.

2–5 years

Typical lifespan of foam weatherstripping

Foam tape weatherstripping generally lasts two to five years under normal use, while rubber and vinyl options often perform reliably for five to ten years when correctly installed.

Once installed, always test your work. Close the door or window and run your hand along the frame on a windy day, or hold a thin strip of paper in the closed frame and tug it — resistance indicates a solid seal. If the paper slides freely, a gap remains. For guidance on choosing the right foam, felt, or rubber compound for each location, our weatherstripping material comparison breaks down the trade-offs clearly.

Don't Compress Weatherstripping Too Tightly

A common overcorrection is choosing an overly thick profile so the door barely closes. Weatherstripping is designed to compress slightly — not to act as a hard stop. Forcing a door closed against excessive material stresses the hinges, can warp the door frame over time, and often causes the strip to delaminate or tear at the edges. Choose a profile that allows the door to close with normal pressure and latch without resistance.

Weatherstripping is a project that rewards patience over speed. A careful first installation will outlast a rushed one by years. If you're tackling other sealing work at the same time, our article on why caulk keeps cracking addresses a closely related frustration many homeowners run into simultaneously.

Home & Garden Editorial Team

DockedReads.com | Information Made Easy

Home & Garden Editorial Team is the collective byline for our editorial team and contributor network. Articles published under this byline or an editorial pen name are researched, written, and reviewed according to our editorial standards for clarity, consistency, and independence before publication.

Home MaintenanceGarden & OutdoorsHome Improvement
View author profile

The content on this site is for informational purposes only and is not a substitute for professional advice. Always consult a qualified professional for guidance specific to your situation.