
Patching a Small Drywall Hole Without Losing Your Mind

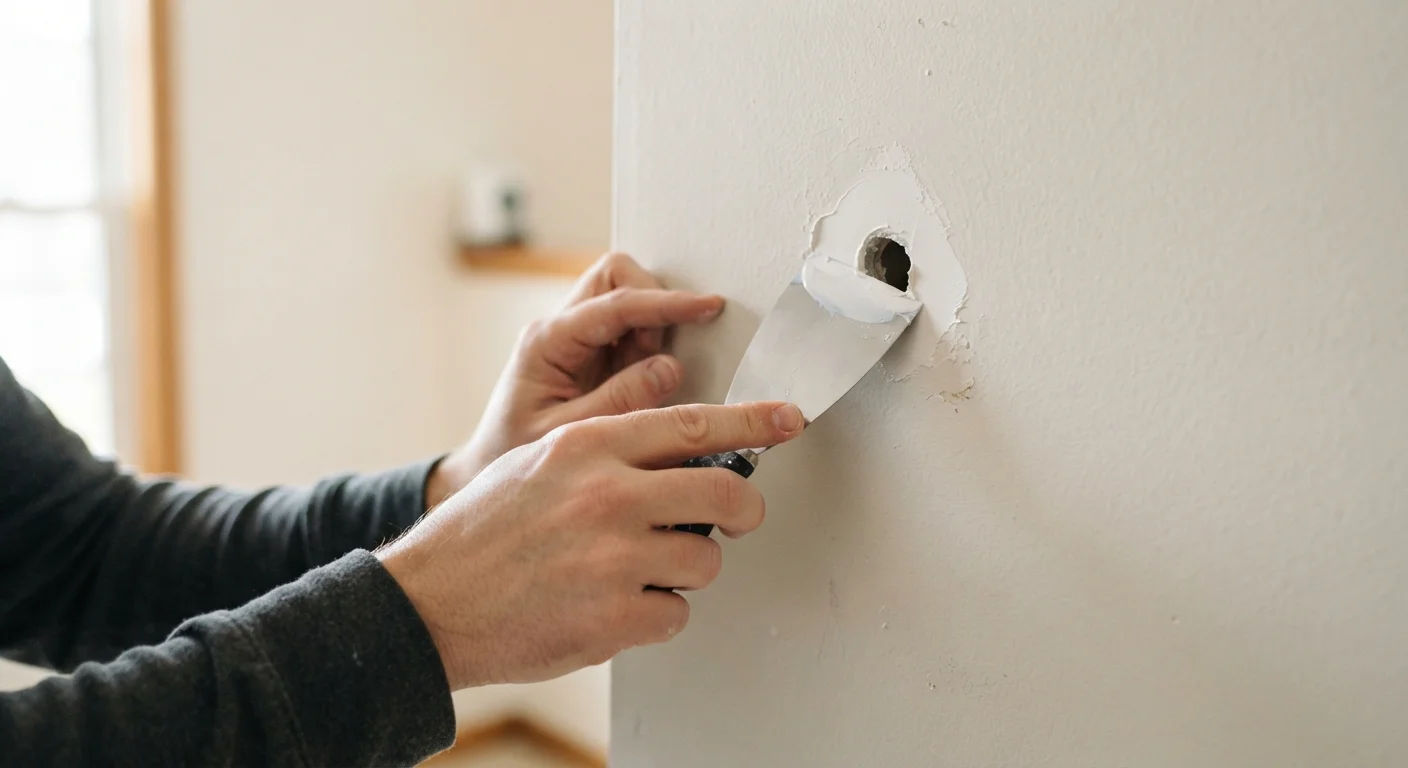
Photo: DockedReads.com | Information Made Easy editorial
Key Takeaways
- Most small drywall holes under 4 inches can be repaired without professional help.
- Self-adhesive mesh patches are the fastest solution for holes left by doorknobs or anchors.
- Joint compound must dry fully between coats — rushing this step causes visible imperfections.
- Priming the repair before painting is essential for a seamless, blended finish.
- Texture matching is the trickiest part; test your technique on cardboard first.
What You'll Need Before You Start
Patching a small drywall hole is one of the most approachable home repairs a first-timer can tackle — but having the right materials on hand before you begin makes all the difference. Stopping mid-repair to make a hardware store run disrupts drying times and can lead to uneven results.
What you will need
Self-adhesive mesh patch kit
Provides a reinforced backing that bridges the hole and holds joint compound in place.
6-inch putty knife or drywall knife
Used to spread and feather joint compound smoothly over the patch.
Pre-mixed joint compound ("mud")
Fills and levels the repaired area so it blends with the surrounding wall surface.
Fine-grit sanding sponge (120–150 grit)
Smooths dried compound between coats and after the final coat.
Drywall primer
Seals the porous compound so finish paint absorbs evenly, preventing a dull spot.
Utility knife
Trims ragged drywall edges around the hole for a cleaner patch surface.
Tack cloth or damp rag
Removes sanding dust from the wall before priming or painting.
If you're new to home repair generally, our beginner's guide to home improvement covers essential tools and safety basics that apply well beyond this project.
Step-by-Step: Patching the Hole
Follow these steps in order and allow each coat to dry fully before moving on. The total hands-on time is short — most of the clock is drying time, not active work.
Assess and clean up the hole
Before reaching for any supplies, look closely at the damage. Is the hole smaller than about 4 inches across? If so, a mesh patch kit is the right approach. If it's larger, see our guide to repairing drywall at every scale for techniques that suit bigger damage.
Use a utility knife to trim away any loose paper facing or crumbled gypsum around the hole's edges. The goal is a firm, clean perimeter — compound won't adhere well to dusty or flaking material.
Apply the mesh patch
Peel the backing off a self-adhesive mesh patch that's slightly larger than the hole — ideally leaving at least half an inch of mesh on all sides. Center it over the hole and press it firmly onto the wall. Run your finger along all edges to ensure full contact with the drywall surface.
Apply the first coat of joint compound
Scoop a small amount of pre-mixed joint compound onto your putty knife. Spread it diagonally across the mesh patch using smooth, confident strokes. The compound should fill the mesh openings completely and extend about 2–3 inches beyond the patch edges. Don't worry about perfection here — this is just the base coat.
Scrape off any excess compound and let this coat dry completely. Depending on humidity and room temperature, this typically takes 4–8 hours. Rushing to the next coat is the most common mistake beginners make.
Sand, then apply additional coats
Once the first coat is bone-dry and no longer cool to the touch, lightly sand it with a 120–150 grit sanding sponge. You're not trying to remove material — just knock down any ridges or tool marks. Wipe the dust away with a tack cloth or barely damp rag.
Apply a second coat, this time feathering the edges even wider (4–6 inches out from center) to blend smoothly into the wall. Most small patches need two or three thin coats. Each one should be thinner and wider than the last.
Final sand and texture matching
After your last coat dries fully, sand the entire repair area until it's flush with the surrounding wall. Move the sanding sponge in gentle circular motions and check your progress frequently by running your palm flat across the surface.
If your wall has texture — orange peel, knockdown, or skip-trowel — this is the step that requires the most patience. Practice your texture technique on a piece of cardboard before applying it to the wall. Many hardware stores carry aerosol texture sprays that can approximate common finishes.
Prime and paint the repair
Apply a coat of drywall primer to the sanded area and let it dry completely. Skipping primer is a common reason patches look dull or slightly different from the surrounding wall — even with matching paint. The compound is more porous than cured drywall and will absorb paint unevenly without a primer seal.
Once primed, paint the patch with your wall color. For the best blend, feather the paint slightly beyond the repair perimeter. If your wall color has aged, be aware that a spot-painted area may appear slightly different — learn why painted walls sometimes look patchy and how to address it.
When to Call a Professional Instead
Check for Hidden Utilities Before Cutting
Drying Time Is Non-Negotiable
Once your repair is complete and painted, the result should be virtually invisible. For tips on achieving a professional-looking paint finish across the whole wall, see our article on getting a smooth, even paint finish at home.
The content on this site is for informational purposes only and is not a substitute for professional advice. Always consult a qualified professional for guidance specific to your situation.