
Achieving a Smooth, Professional Paint Finish at Home

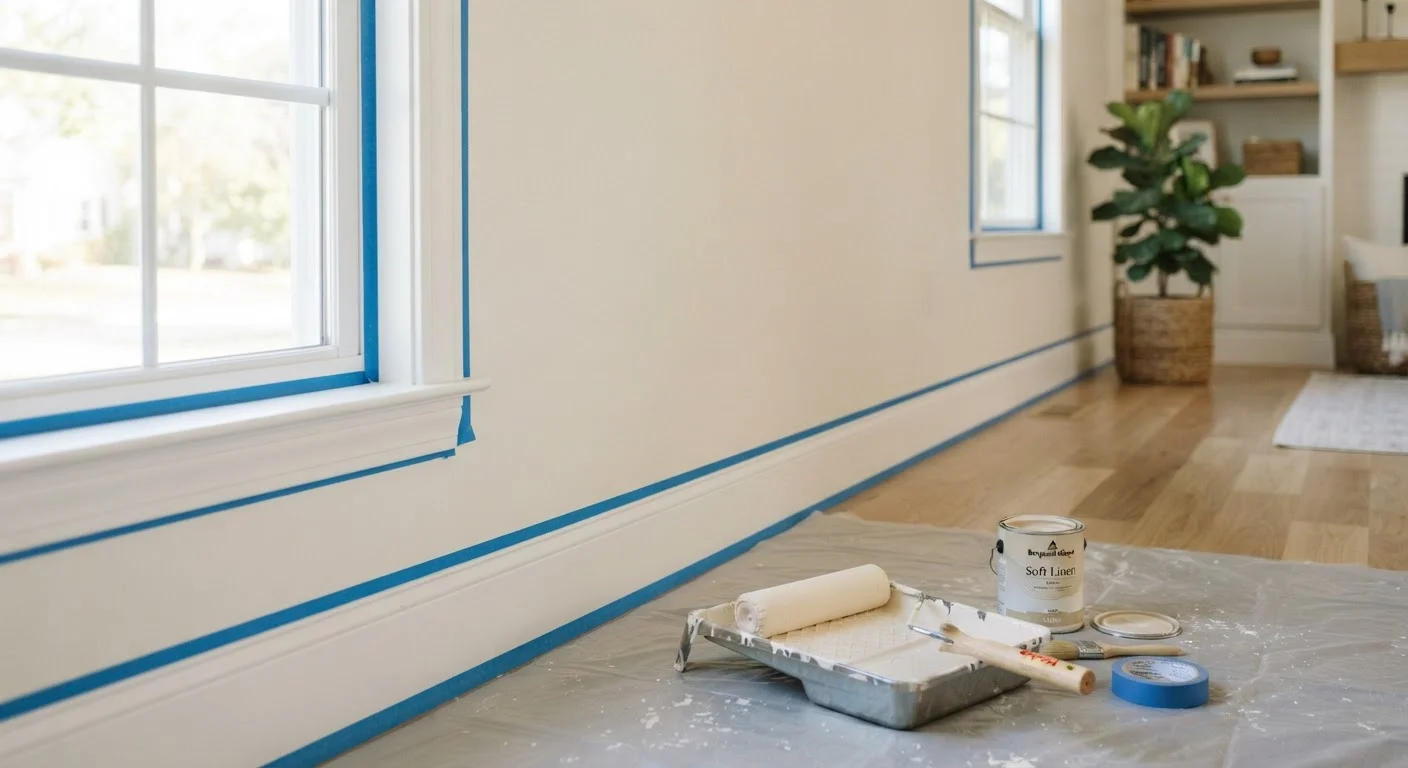
Photo: DockedReads.com | Information Made Easy editorial
Key Takeaways
- Surface preparation — cleaning, patching, and sanding — is the single biggest factor in a smooth finish.
- Using the right primer prevents blotchiness and reduces the number of topcoats needed.
- Quality applicators and proper loading technique eliminate most brush marks and roller texture.
- Thin, consistent coats dry faster and lay flatter than thick single applications.
- Lighting the surface at a low angle while you work reveals imperfections before the paint dries.
Why Most DIY Paint Jobs Fall Short
Walk into any freshly painted room and you can usually tell whether a professional or a determined weekend warrior did the work. The telltale signs — visible brush strokes, patchy coverage, roller stipple, or paint bleeding under tape — almost always trace back to skipped preparation steps, not inferior paint. Understanding this shifts your attention to the right place before you ever crack a lid.
Whether you're refreshing a bedroom or sprucing up before a move, a methodical approach delivers results that genuinely look professional. This is also true of most home improvement work: process matters more than talent. For a broader look at renovation planning, see the complete renovation resource that covers scoping, budgeting, and managing a project end to end.
Surface Preparation: The Real Work Begins Here
A smooth topcoat can only be as smooth as the surface beneath it. Start by washing walls with a mild detergent solution to remove grease, dust, and fingerprints — paint over grime will peel or fail to adhere evenly. Once dry, inspect closely for dents, nail holes, and cracks.
Fill imperfections with a lightweight spackling compound, let it cure fully, then sand flush with 120-grit sandpaper. For larger repairs, see our drywall patching walkthrough — it covers the process calmly and clearly. After sanding any repairs, lightly scuff the entire surface with fine-grit paper (150–220 grit) to give the primer something to grip. Wipe away all dust with a tack cloth or barely damp microfiber cloth before moving on.
Application Techniques That Make the Difference
Even with perfect prep, poor application technique undoes the work. Load your roller to about one-third of the nap's depth — overloaded rollers deposit too much paint at once, causing drips and uneven texture. Work in a "W" or "M" pattern across the wall, then back-roll through the wet paint in a single direction to lay the nap flat.
For cut-in work along edges and trim, use a quality angled brush and pull steady, continuous strokes rather than short scrubbing motions. Maintain a wet edge — always overlapping into paint that hasn't begun to dry — to avoid lap marks. Keep a low-angle work light (a simple clip lamp works well) aimed across the surface; it reveals holidays (missed spots) and texture problems while the paint is still wet and correctable.
Apply two thin coats rather than one heavy coat. Thin coats self-level better, dry faster, and are less prone to sagging. Lightly sand between coats with 220-grit paper for a genuinely flat result.
Primer, Sheen, and Finishing Details
Primer is not optional on bare drywall, repaired spots, or dramatic color changes. A quality primer seals porous surfaces so the topcoat absorbs evenly — without it, repaired areas often appear as dull or slightly different-colored patches even after two topcoats.
Spot-Prime Repaired Areas First
Sheen level affects both appearance and washability. Flat or matte sheens hide surface imperfections well but are harder to clean — a practical choice for ceilings and low-traffic rooms. Eggshell and satin balance cleanability with a subtle glow, making them common choices for living areas and bedrooms. Semi-gloss and gloss are typically reserved for trim, doors, and high-humidity spaces like bathrooms.
Finally, remove painter's tape while the paint is still slightly tacky — not fully dried. Pull at a 45-degree angle back over itself for a clean edge. Waiting until paint is bone-dry risks pulling the finish off with the tape.
The content on this site is for informational purposes only and is not a substitute for professional advice. Always consult a qualified professional for guidance specific to your situation.