
Home Improvement for First-Timers: Where to Begin

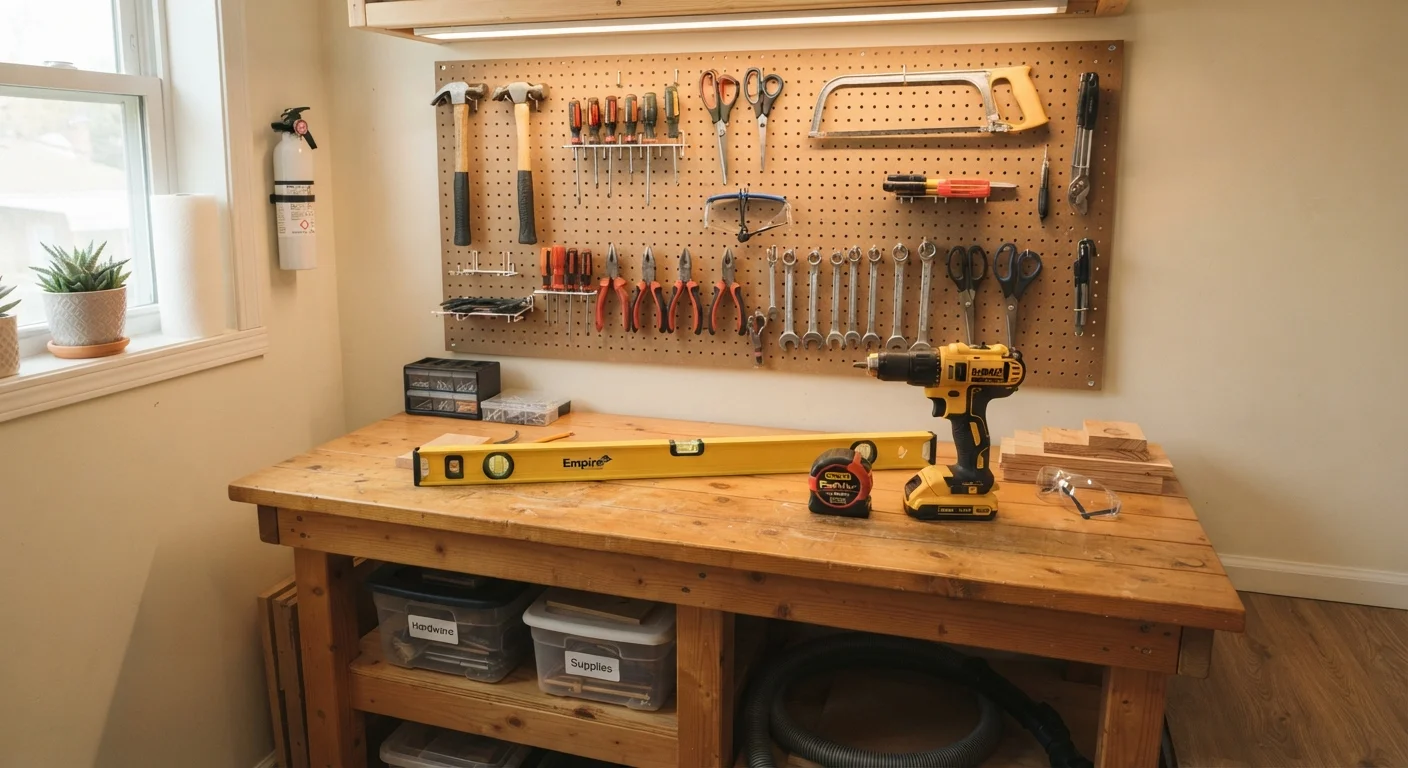
Photo: DockedReads.com | Information Made Easy editorial
Key Takeaways
- Most beginner-friendly home improvement tasks require only a handful of basic hand tools.
- Safety habits — like checking for hidden wires and wearing eye protection — matter on even simple jobs.
- Starting small with low-stakes projects builds real, transferable skills.
- Electrical, gas, structural, and load-bearing work should always be handled by licensed professionals.
- Good planning before you buy materials saves time, money, and frustration.
Why First-Timers Hesitate — and Why You Shouldn't
Most people approach their first home improvement task with the same feeling: a mixture of motivation and a quiet worry that they'll make things worse. That hesitation is natural, but it often overstates the difficulty of entry-level work. The skills required to patch a wall, rehang a door, or swap out a light fixture are genuinely learnable by almost any motivated adult — and the gap between watching and doing closes fast once you start.
The key mindset shift is recognizing that you don't need to be ready for everything at once. You're not signing up for full renovations. You're building a foundation, one small project at a time. Each completed task adds real, transferable knowledge — how materials behave, how tools handle, where problems hide. If you're also new to owning a home, our introduction to routine home upkeep is a useful parallel read for understanding what your home needs from you throughout the year.
The Essential Beginner Tool Kit
You don't need a garage full of equipment to handle most beginner projects. A focused starter kit covers the majority of common tasks:
- Tape measure — 25-foot, lockable. Measure everything before cutting or buying.
- Cordless drill/driver — A single battery-platform drill handles screwing, driving, and light boring. Charge it before every project.
- Hammer — A 16-oz claw hammer works for nailing and pulling fasteners.
- Screwdrivers — Both flathead and Phillips in at least two sizes.
- Level — A 24-inch spirit level keeps shelves, frames, and fixtures straight.
- Utility knife — Invaluable for scoring drywall, opening packaging, and trimming materials.
- Stud finder — Essential for safely locating framing members and detecting hidden wires or pipes.
- Safety gear — Safety glasses, work gloves, and dust masks suited to the task.
Start with this list and add specialized tools only as specific projects call for them. This keeps costs down and avoids the clutter of items you'll rarely use. For a useful contrast on how the same principle applies outdoors, see our guide to beginner garden tools.
Stud
A vertical framing member inside your wall, usually wood or metal, that provides a solid anchor point for shelves, fixtures, and heavy items. Drywall alone cannot support significant weight.
Pilot hole
A small hole drilled before driving a screw or fastener. It prevents wood from splitting and makes driving screws easier and more precise.
Caulk
A flexible, waterproof sealant applied at joints and gaps — around tubs, sinks, windows, and doors — to block water intrusion and drafts.
Spackling compound
A paste-like filler used to repair small holes and surface imperfections in drywall or plaster. It dries hard, can be sanded smooth, and accepts paint.
Non-contact voltage tester
A handheld tool that detects electrical current without touching bare wires. Used to confirm a circuit is safely de-energized before working near it.
PPE (Personal Protective Equipment)
Safety gear worn to protect against job-specific hazards — including safety glasses, work gloves, and dust masks.
Safety Basics Before You Pick Up Any Tool
Safe habits aren't just for experienced tradespeople — beginners benefit most from learning them early, before any bad patterns form.
Never assume power is off
- De-energize before working near electricity. Switch off the correct breaker and confirm power is off with a non-contact voltage tester before touching any wire or outlet.
- Scan walls before drilling. Use your stud finder's wire and pipe detection mode. Assume pipes run near bathrooms and kitchens; wires follow stud bays.
- Secure your workspace. Clear clutter, ensure good lighting, and secure any material you're cutting so it can't shift unexpectedly.
- Read the tool's manual. Every drill, saw, and power tool comes with specific safety instructions. Read them before first use.
- Use the right PPE for the job. Eye protection applies to nearly every task involving drilling, cutting, or sanding. Dust masks matter when working with drywall compound or older paint.
One safety consideration that catches beginners off guard: homes built before 1978 may contain lead-based paint, and homes before the mid-1980s may contain asbestos in certain materials. If your home falls in that range, test suspicious materials before disturbing them, or consult a professional abatement contractor.
The Best First Projects to Build Confidence
Choose starting projects that are forgiving, reversible, and deliver a clear visual payoff. These examples fit all three criteria:
- Patching small drywall holes — A nail hole or small ding can be fixed with spackling compound, a putty knife, light sanding, and touch-up paint. The technique is straightforward and the stakes are low.
- Replacing a door handle or cabinet hardware — Typically two screws. Transforms the look of a room with minimal risk.
- Caulking around tubs, sinks, or windows — Removing old, cracked caulk and applying a fresh bead prevents water intrusion and is entirely beginner-manageable.
- Installing a shelf using a stud finder and level — Combines several core skills: locating studs, drilling pilot holes, driving screws, and verifying level.
- Painting a room — Proper prep (cleaning, masking, priming) is where painting success is earned. The rolling and cutting-in techniques improve quickly with practice.
Start with a practice run
Once you've completed a few of these, you'll have the foundation to take on more ambitious work. Before you scale up, work through our project planning checklist — skipping early planning steps is how projects go over budget and timeline.
When to DIY and When to Call a Pro
Knowing your limits is one of the most valuable skills a DIYer can develop. A confident, capable homeowner isn't someone who does everything themselves — it's someone who accurately judges which work is within their current ability and which carries risks that outweigh the savings.
Always hire a licensed professional for:
- Electrical panel work, new circuit installation, or any wiring beyond simple fixture swaps
- Gas lines, gas appliance connections, or anything involving combustion systems
- Structural work — removing walls, modifying load-bearing elements, foundation repairs
- Roofing and major waterproofing (falls and long-term damage risk are significant)
- Main plumbing supply or drain line work
Many of these categories also require permits and inspections under local building codes. Unpermitted work can create problems when you sell your home and may void homeowner's insurance coverage in some circumstances. Our article on permits and inspections covers which projects commonly trigger these requirements. For a broader view of what larger-scale projects involve, see our complete home renovation resource.
DIY home improvement rewards patience and preparation. Start within your ability, invest in good safety habits, and let each project expand what you're capable of tackling next.
Frequently Asked Questions
The content on this site is for informational purposes only and is not a substitute for professional advice. Always consult a qualified professional for guidance specific to your situation.