
Drywall Repair: From Hairline Cracks to Fist-Sized Holes

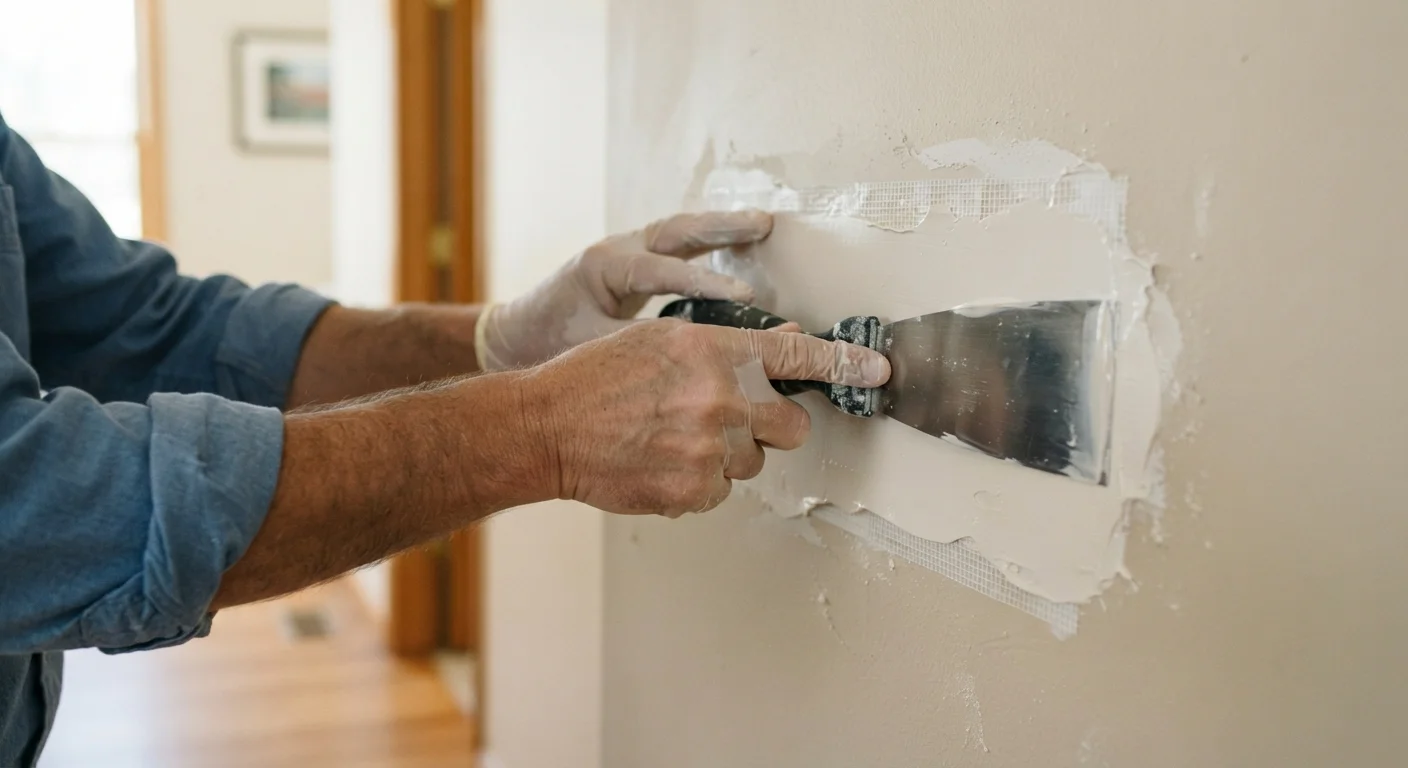
Photo: DockedReads.com | Information Made Easy editorial
Key Takeaways
- Hairline cracks, small dents, and large holes each require a different repair approach and set of materials.
- Skipping proper surface prep — cleaning, priming, or securing loose edges — is the most common reason patches fail.
- Multiple thin coats of joint compound produce a smoother, more durable finish than one thick application.
- Priming the patched area before painting is essential; unprimed compound absorbs paint unevenly and causes patchiness.
- Recurring cracks in the same spot often signal a structural or moisture issue that warrants a professional look.
Understanding What You're Working With
Drywall — gypsum plaster sandwiched between two layers of paper — is durable under normal use but vulnerable to impacts, moisture, and the gradual movement of a house settling over time. Most damage falls into predictable categories, and matching your technique to the damage type is what separates a patch that lasts from one that cracks again in six months.
Before you gather tools, think about why the damage occurred. A single impact hole is straightforward to fix. A crack that runs diagonally from a door or window corner could indicate settling — common in many US homes and usually benign — but a cluster of new cracks appearing rapidly, or cracks accompanied by sticking doors or sloping floors, may warrant a structural assessment. Similarly, any soft, stained, or bubbling drywall suggests water intrusion that must be resolved at the source first.
For a broader look at when tackling repairs yourself is a sound decision — and when professional help makes more sense — see our guide on DIY home repairs.
What you will need
Tools and Materials You'll Need
The supplies required scale with the size of the repair, but most homeowners can handle all three damage categories with a relatively compact toolkit. The items below cover everything from a hairline crack to a fist-sized opening.
Putty knife or taping knife (4–6 inch)
Applies and feathers joint compound smoothly across the repair area.
Joint compound (also called mud)
Fills and levels the repair; lightweight all-purpose compound works for most patch jobs.
Self-adhesive mesh patch or drywall backer board
Provides structural backing for medium to large holes so compound has something solid to grip.
Drywall screws and drill/driver
Fastens backer boards or new drywall sections securely to framing or support strips.
Sanding sponge or fine-grit sandpaper (120–150 grit)
Smooths dried compound between coats and before priming.
Drywall primer
Seals the repaired surface so finish paint absorbs evenly and doesn't look patchy.
Drywall saw or utility knife
Cuts away damaged drywall cleanly when preparing large holes for patching.
Step-by-Step Repair Instructions
Work through these steps in order. Rushing between coats or skipping surface prep are the two habits most likely to produce a visible, short-lived patch.
Assess the damage and choose your method
Identify which category your repair falls into before touching any tools:
- Hairline cracks: Surface-level, no material missing — typically caused by slight house settling or temperature cycling.
- Small holes (up to 1 inch): Screw pops, picture hooks, or minor impacts.
- Medium holes (1–6 inches): Doorknob strikes, towel-bar pullouts. These need a mesh patch or backing.
- Large holes (over 6 inches): Require a cut-and-replace approach using a new piece of drywall anchored to support strips or studs.
Also check whether the crack recurs after painting, and feel for soft or discolored drywall around any hole — either could point to moisture, which needs to be resolved before patching.
Prep the damaged area
Good prep determines whether your patch holds for years or peels away within months.
- For cracks: widen the crack slightly with a putty knife or can opener tip to create a V-shaped channel — this gives compound something to grip. Remove all loose material.
- For holes: trim any torn paper or ragged drywall edges flush. If the paper facing is lifting around the edges, score and peel it back cleanly — lifting paper creates bumps that telegraph through the finish.
- Dust and degrease the surface with a damp cloth and let it dry fully before applying any compound.
Apply the appropriate patch backing
Hairline cracks and holes under about an inch can be filled directly with compound or spackling paste — no additional backing needed. For anything larger:
- Self-adhesive mesh patches work well for holes up to roughly 6 inches. Center the patch over the hole, press firmly, and verify the edges are fully adhered.
- California patch (drywall flap method): Cut a square of new drywall slightly larger than the hole, score the back only, and snap off the gypsum while leaving the paper facing intact. This facing acts as built-in tape.
- Backer-board method for large holes: Cut the damaged area to a clean rectangle, screw wooden or metal support strips inside the wall behind the cut edges, then screw a cut-to-fit piece of new drywall onto those supports.
Apply joint compound in thin coats
Load a small amount of compound onto your taping knife and spread it across the patch with firm, angled strokes. Key rules:
- Apply compound in thin, even layers — each coat should be no more than 1/8 inch thick.
- Feather the edges outward several inches beyond the patch boundary so the repair blends gradually into the surrounding wall.
- For medium and large repairs, embed paper drywall tape into your first (base) coat by pressing it into wet compound, smoothing out air bubbles, then skim a thin layer over the top.
- Allow each coat to dry completely — typically 24 hours in normal indoor conditions — before sanding lightly and applying the next coat. Most repairs need two to three coats.
Sand smooth and prime before painting
Once the final coat is fully dry, sand gently with 120–150 grit sandpaper or a damp sanding sponge, using circular motions. The goal is a surface that's flush and smooth to the touch — not necessarily invisible to the eye yet.
Wipe away all dust with a barely damp cloth, then apply a coat of drywall primer. Skipping primer is the single most common reason patches look obvious after painting. Unprimed compound is highly porous and pulls paint in unevenly, creating a dull spot even with multiple finish coats. See our guide on patchy paint for a full breakdown of why this happens and how to prevent it.
Once the primer is dry, apply your finish paint to match the surrounding wall.
Finishing Well and Avoiding Common Mistakes
The most common finishing mistake is applying paint directly over unprimed compound. Even if the patch feels perfectly smooth, bare compound absorbs paint at a different rate than the surrounding painted wall, leaving a dull, slightly sunken-looking spot — sometimes called "flashing." Always prime. Our article on patchy walls after painting covers the full range of causes and fixes if you've already run into this problem.
Matching Texture Takes Practice
Another common oversight: not feathering compound far enough beyond the patch edge. A repair that's blended only to the edge of the backing patch will show a faint ridge once painted. Extend your compound passes at least four to six inches in all directions from the hole perimeter.
Finally, if your wall's paint has faded or you're unsure of the exact color, bring a paint chip (or use a color-matching service at a paint counter) rather than guessing. Even a close color match can look noticeably off once dry under different lighting conditions.
The content on this site is for informational purposes only and is not a substitute for professional advice. Always consult a qualified professional for guidance specific to your situation.