
Fluid Checks Every Driver Should Know How to Do

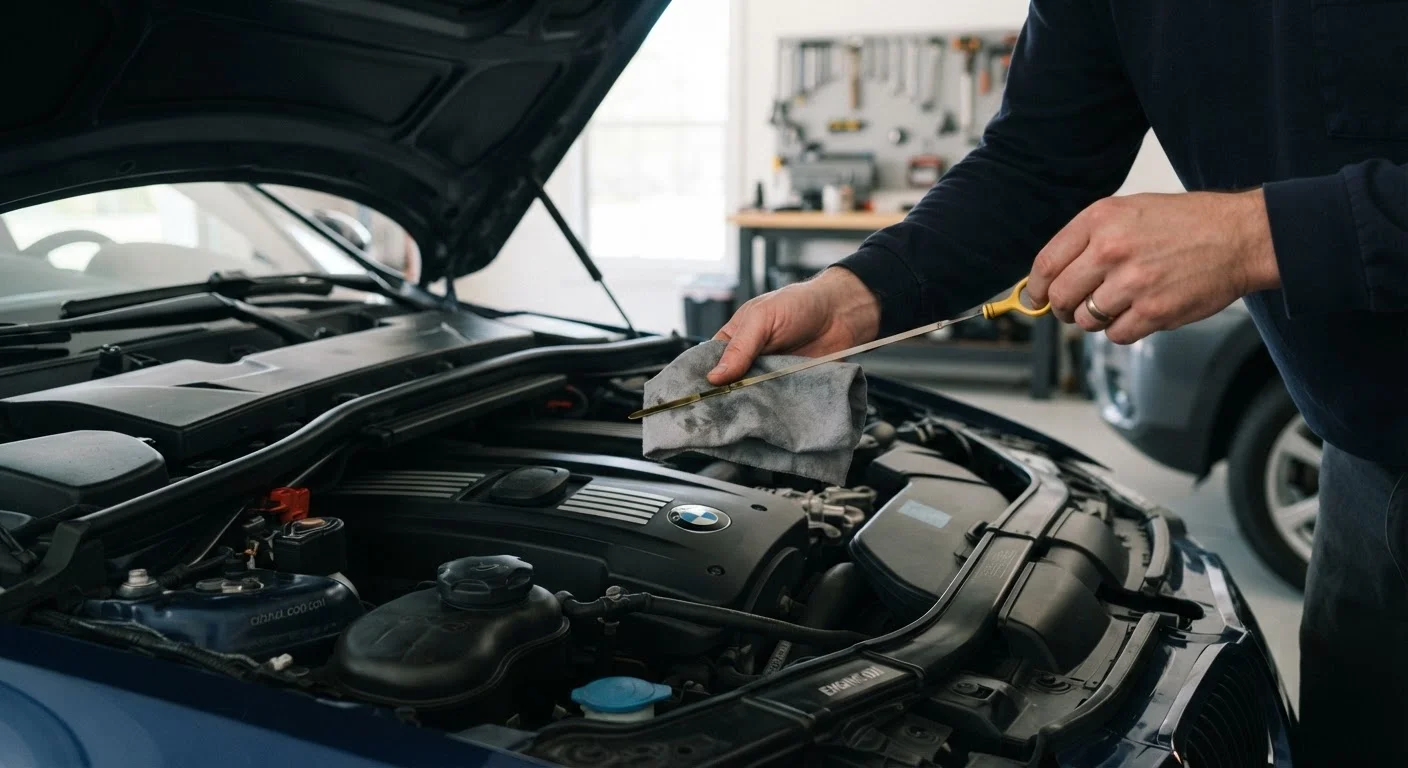
Photo: DockedReads.com | Information Made Easy editorial
Key Takeaways
- Checking four key fluids takes under 20 minutes and requires no specialist tools.
- Always let the engine cool before opening the hood or removing any fluid caps.
- Low or discolored fluids often signal an underlying issue that a mechanic should evaluate.
- Consistent fluid checks reduce the risk of breakdowns and extend engine life.
- Your owner's manual specifies the correct fluid types and acceptable level ranges for your vehicle.
Why These Four Fluids Matter
Your vehicle relies on a network of fluids to keep its mechanical systems running safely. Engine oil lubricates moving metal components and reduces friction. Coolant prevents the engine from overheating or freezing. Brake fluid transmits the pressure that activates your brakes. Windshield washer fluid keeps your sightlines clear in adverse conditions. When any one of these runs low or degrades, performance suffers — and repair costs can climb quickly.
The good news is that monitoring all four requires no mechanical training, no specialized tools, and typically less than 20 minutes. This kind of routine awareness is one of the simplest ways to extend vehicle life. For a broader view of how upkeep shifts with the seasons, see Seasonal Car Maintenance.
What you will need
What You'll Need
These checks require only items most drivers already have access to. Gather everything before you open the hood so the process is efficient.
Owner's Manual
Identifies correct fluid specifications, dipstick locations, and acceptable fill ranges for your specific vehicle.
Lint-Free Rags or Paper Towels
Used to wipe the oil dipstick clean before taking a reading and to handle any small spills.
Flashlight or Phone Torch
Improves visibility inside the engine bay, especially in low-light conditions or tight spaces.
Nitrile Gloves
Protects hands from oil, coolant, and brake fluid — all of which can irritate skin.
Step-by-Step Fluid Check Instructions
Build a Monthly Fluid Check Habit
Park on Level Ground and Let the Engine Cool
Park your vehicle on a flat, level surface and turn off the engine. Wait at least 30 minutes before opening the hood. Checking fluids on an incline gives inaccurate level readings, and hot engine components pose a burn risk. Engage the parking brake for added safety.
Check the Engine Oil
Locate the oil dipstick — typically marked with a brightly colored handle and an oil-drop symbol. Pull it out fully, wipe it clean with a rag, reinsert it all the way, then pull it out again. Note where the oil film sits relative to the MIN and MAX markers on the dipstick.
Also observe the oil's color and texture. Fresh oil is amber and slightly transparent. Dark brown or black oil, or oil with a gritty texture, indicates it is due for a change. Milky or foamy oil can signal coolant contamination — have a mechanic inspect this immediately.
Check the Coolant Level
The coolant (also called antifreeze) is stored in a translucent plastic reservoir, usually located near the radiator. Without removing any caps, check the fluid level against the MIN and MAX lines printed on the side of the reservoir. The fluid should be visible between those lines.
Coolant is typically green, orange, or pink depending on the type — your owner's manual will specify the correct formula for your vehicle. Mixing coolant types can reduce effectiveness. For a deeper explanation of how the cooling system works, see our guide to coolant and antifreeze.
Check the Brake Fluid
The brake fluid reservoir is a small, semi-translucent plastic container typically located near the firewall on the driver's side of the engine bay. Without opening it, check the level against the MIN and MAX markings on the outside of the reservoir. The fluid should appear clear to slightly yellow.
Dark or murky brake fluid may indicate it has absorbed excess moisture and should be replaced by a professional. As noted above, a consistently low level warrants a mechanic's inspection — it is not simply a topping-off situation.
Check the Windshield Washer Fluid
The washer fluid reservoir is generally the easiest to identify — it typically has a windshield and spray symbol on its cap and is often a blue-tinted plastic container. Remove the cap and visually confirm the fluid level; many reservoirs also have a MIN line marked inside.
Top up with a commercially available washer fluid formulated for your climate. In freezing temperatures, use a formula rated for low temperatures to prevent the lines from freezing. Plain water is not an adequate substitute — it can freeze, promote bacterial growth, and lacks the cleaning agents needed to clear road grime effectively.
Note Your Findings and Close Up
Before closing the hood, confirm all caps and the dipstick are fully reseated — a loose oil cap or coolant cap can cause serious problems at driving speed. Wipe away any drips with your rag. Note any concerns in a small maintenance log.
If any fluid was significantly low, discolored, or showed signs of contamination, schedule a professional inspection promptly rather than waiting for your next routine service. These checks pair well with the broader review outlined in The Annual Vehicle Inspection Checklist.
When to Stop DIY and Call a Mechanic
Fluid checks are firmly within the reach of any driver. However, certain findings should prompt a visit to a qualified mechanic rather than a self-repair attempt. These include:
- Oil that appears milky or foamy — a possible sign of coolant mixing into the oil circuit
- Brake fluid that is consistently low — may indicate pad wear or a hydraulic leak
- Coolant that is consistently low without visible leaks — internal leaks can be serious
- Any fluid with unusual particles, sludge, or a burnt smell
Understanding where the boundary between DIY and professional work lies keeps both you and your vehicle safe. Our article on DIY car maintenance vs. letting a mechanic handle it explores this trade-off in detail. Before any longer trip, also consider running through a full pre-trip vehicle safety check that includes fluids alongside other essential systems.
Never Open a Hot Radiator Cap
Brake Fluid: Handle With Care
The content on this site is for informational purposes only and is not a substitute for professional advice. Always consult a qualified professional for guidance specific to your situation.